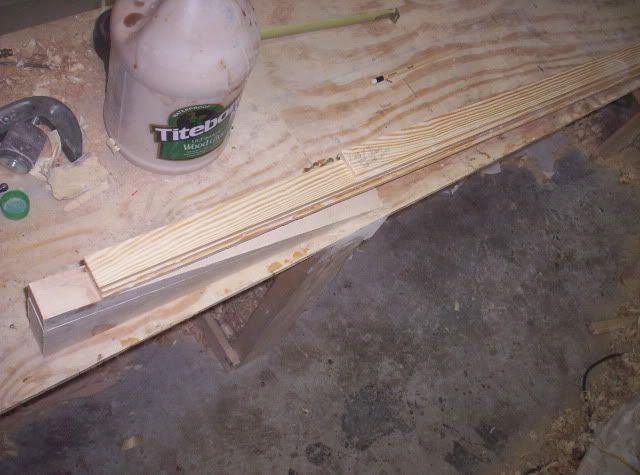
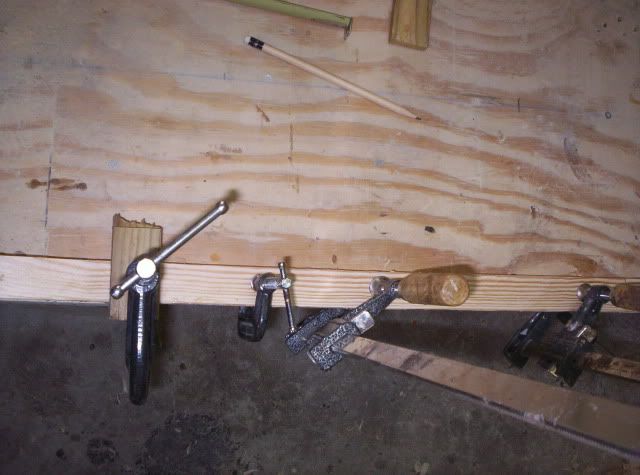
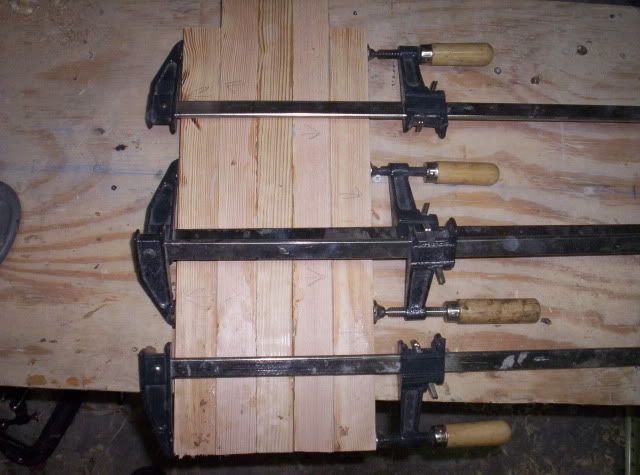
Make sure to use your strongest clap at the neck of the bend as this is the higest tension area, I always use a C-clamp as there is 0 chance of it slipping.

Clamp the shaft in several locations each time making sure the strips line up at each point.
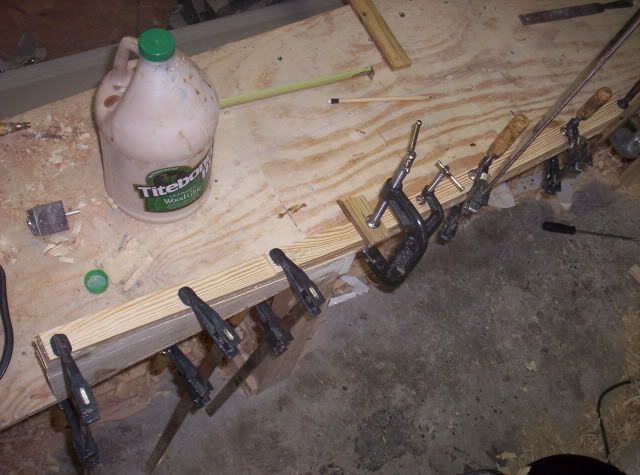
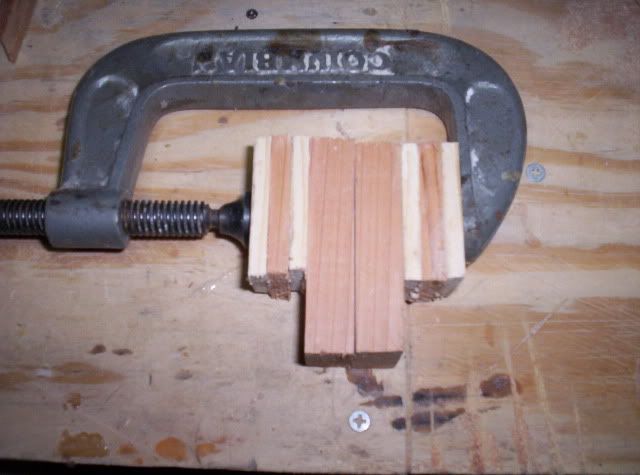
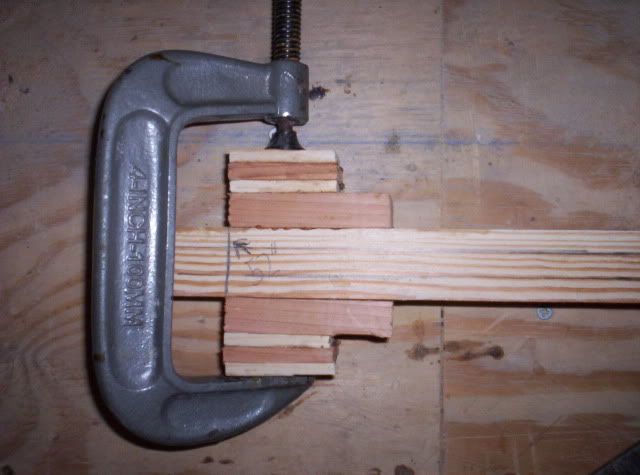
While your shaft is drying we can move onto the grip. For this setup i'll be showing how to make a comfortable modified T-Grip. You'll need 2 sides to glue onto the main shaft. Each will be 3" x 1.5". When attached this gives you a total width of 4.25" to work with. I cheated a little and used some scrap cedar to give a nice design, but there is plenty of wood left from your 2X4 to make the sides.
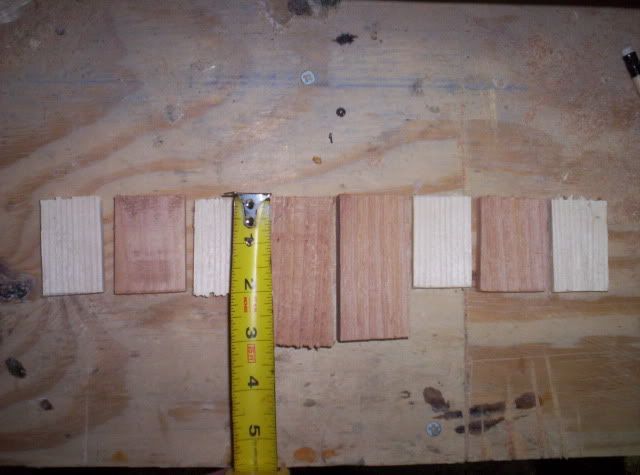
If you have scraps laying around glue them up in any pattern you like and clamp them to dry.

Once your shaft is dried we can move onto the blade glue-up.
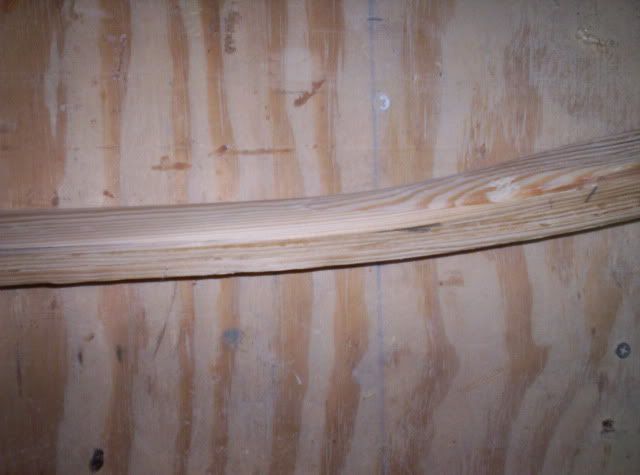
I do some inital shaping on the back (non powerface) side of the shaft before gluing on the blade sections. This isn't required but it will save me a little time later as it's harder to shape once the blade is glued up.
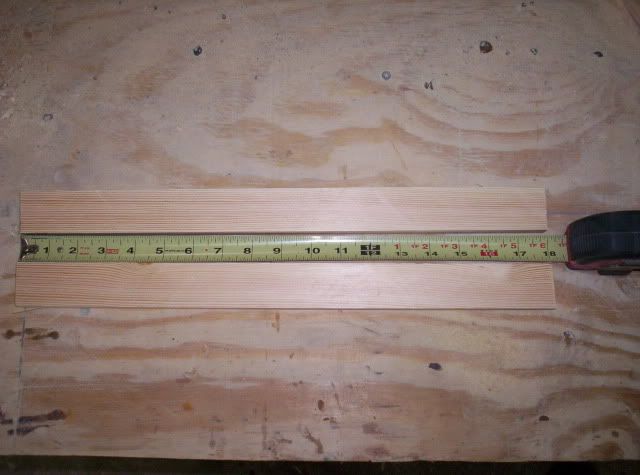
Next cut two 18" lengths from the .600 strip you cut earlier and glue them on the shaft with the back of the blade surface aligned (more on this later)
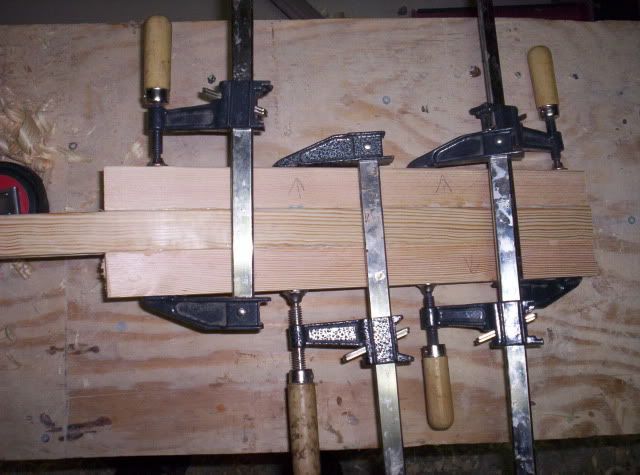
After the glue has dried on the 18" sections, cut two 17" sections from the .415 strip and glue them on the same way, aligning the back surface.
What you end up with is a step like structure on the powerface. This will provide plenty of matereal to cut a dihedrealed powerface (more on this later).
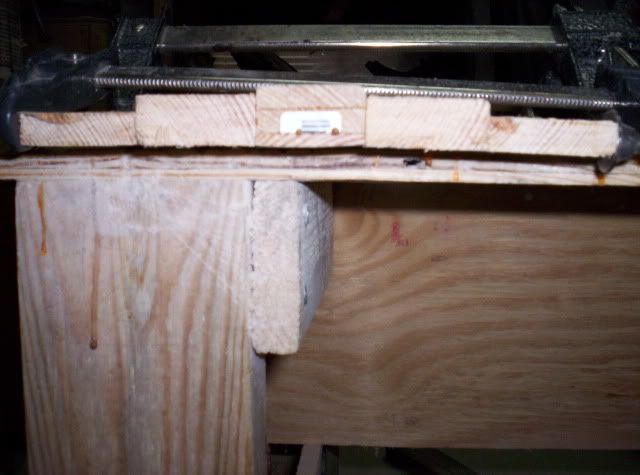
Once the glue on the second set has dried you can add a 3rd set from the .415 strip or leave as-is depending on your desired blade size.
The last step is to glue on the handle parts. Smooth the shaft surface using a shave, file or sandpaper and glue them on.
No comments:
Post a Comment